Tesla Home Charging
Charging your electric vehicle at home is convenient and cost-effective. By setting up an EV home charger, you can simply plug in where you park and utilize low overnight utility pricing during off-peak hours.
Follow the steps below to successfully install and experience Tesla home charging.
There are a range of equipment options to keep your electric vehicle charged at home. Consider your daily driving habits, where you park every night and what kind of vehicle you own; then, review your options below.
Benefits
- Most convenient home charging option
- Compatible with all electric vehicles
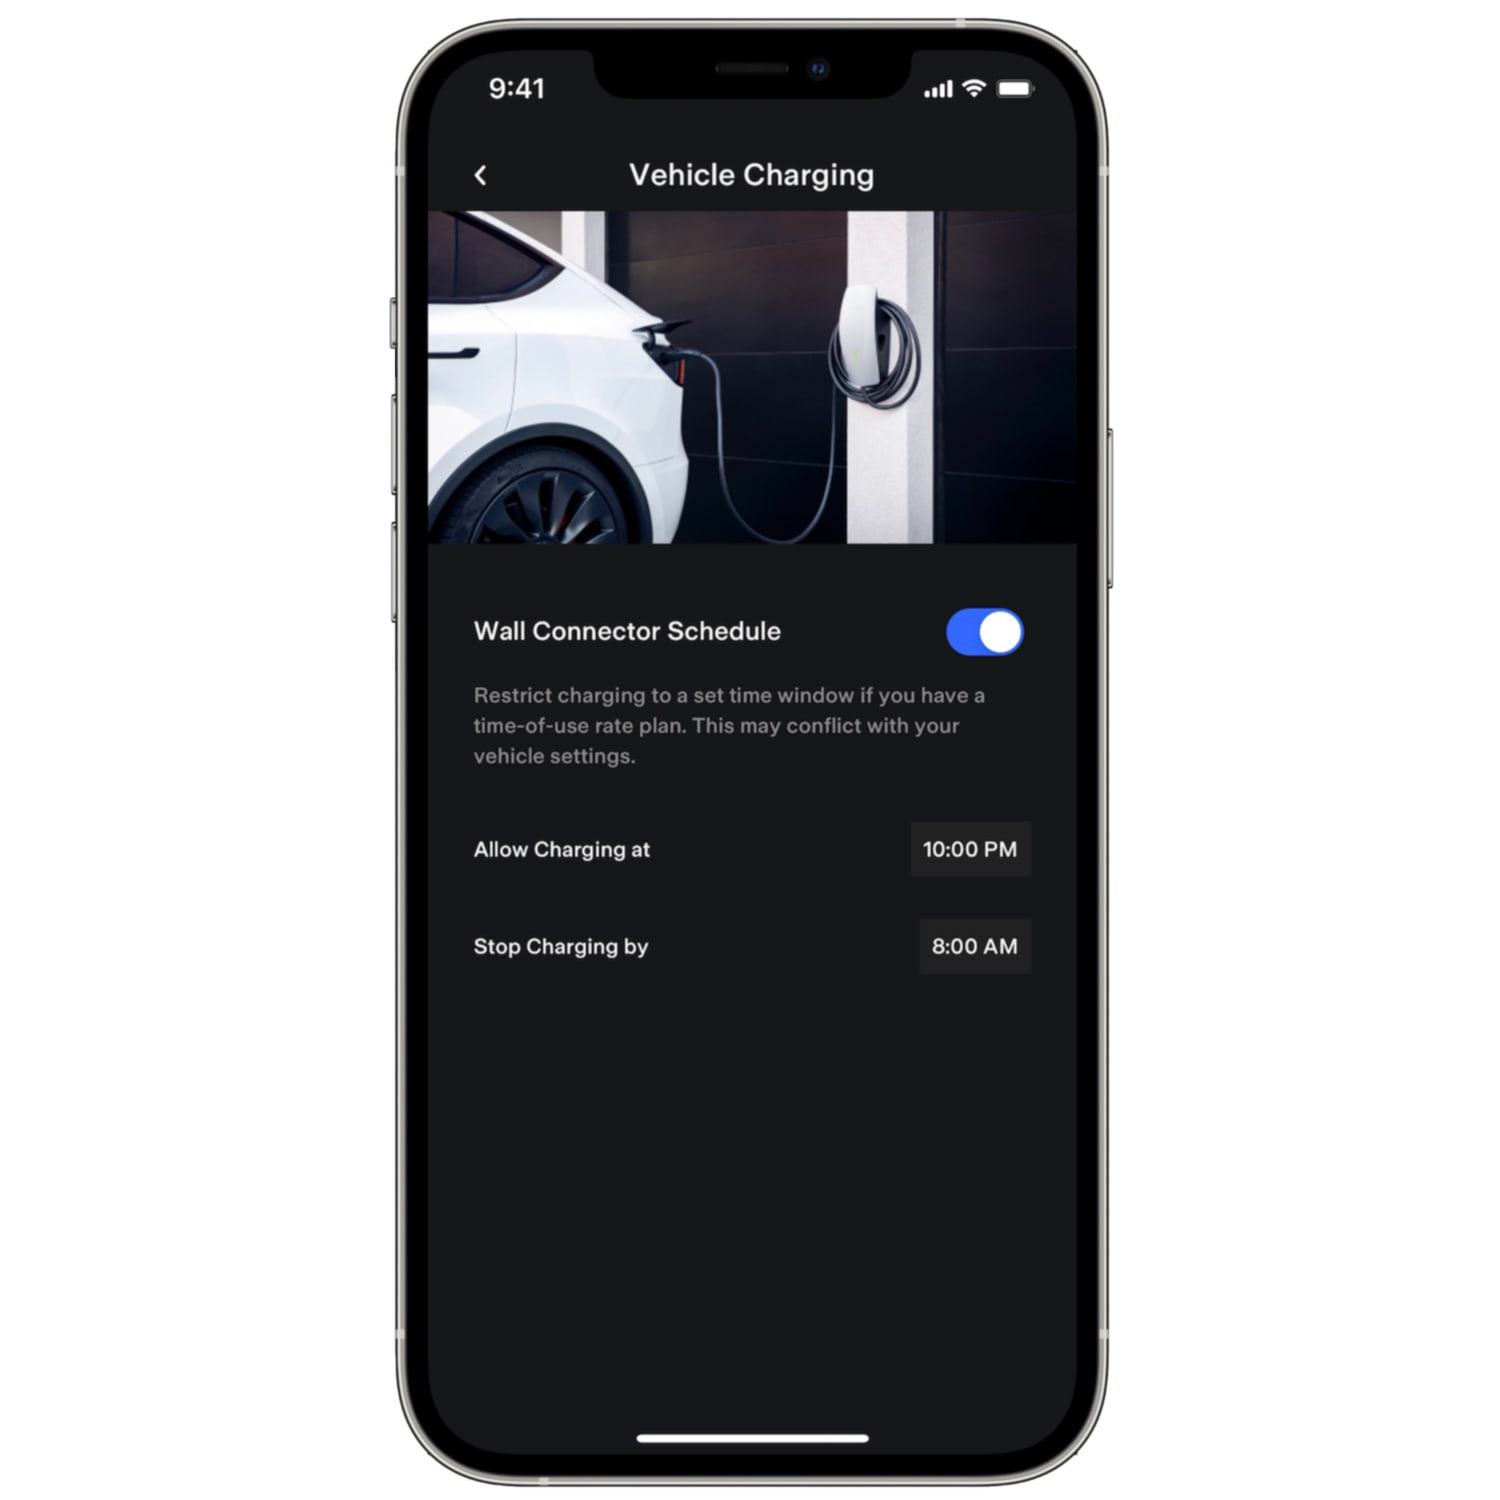
- Charging scheduling and history
- Remote diagnostics
- Outdoor compatible
Charging Rates
Up to 71 km/h1 (3phase, 32A power supply)
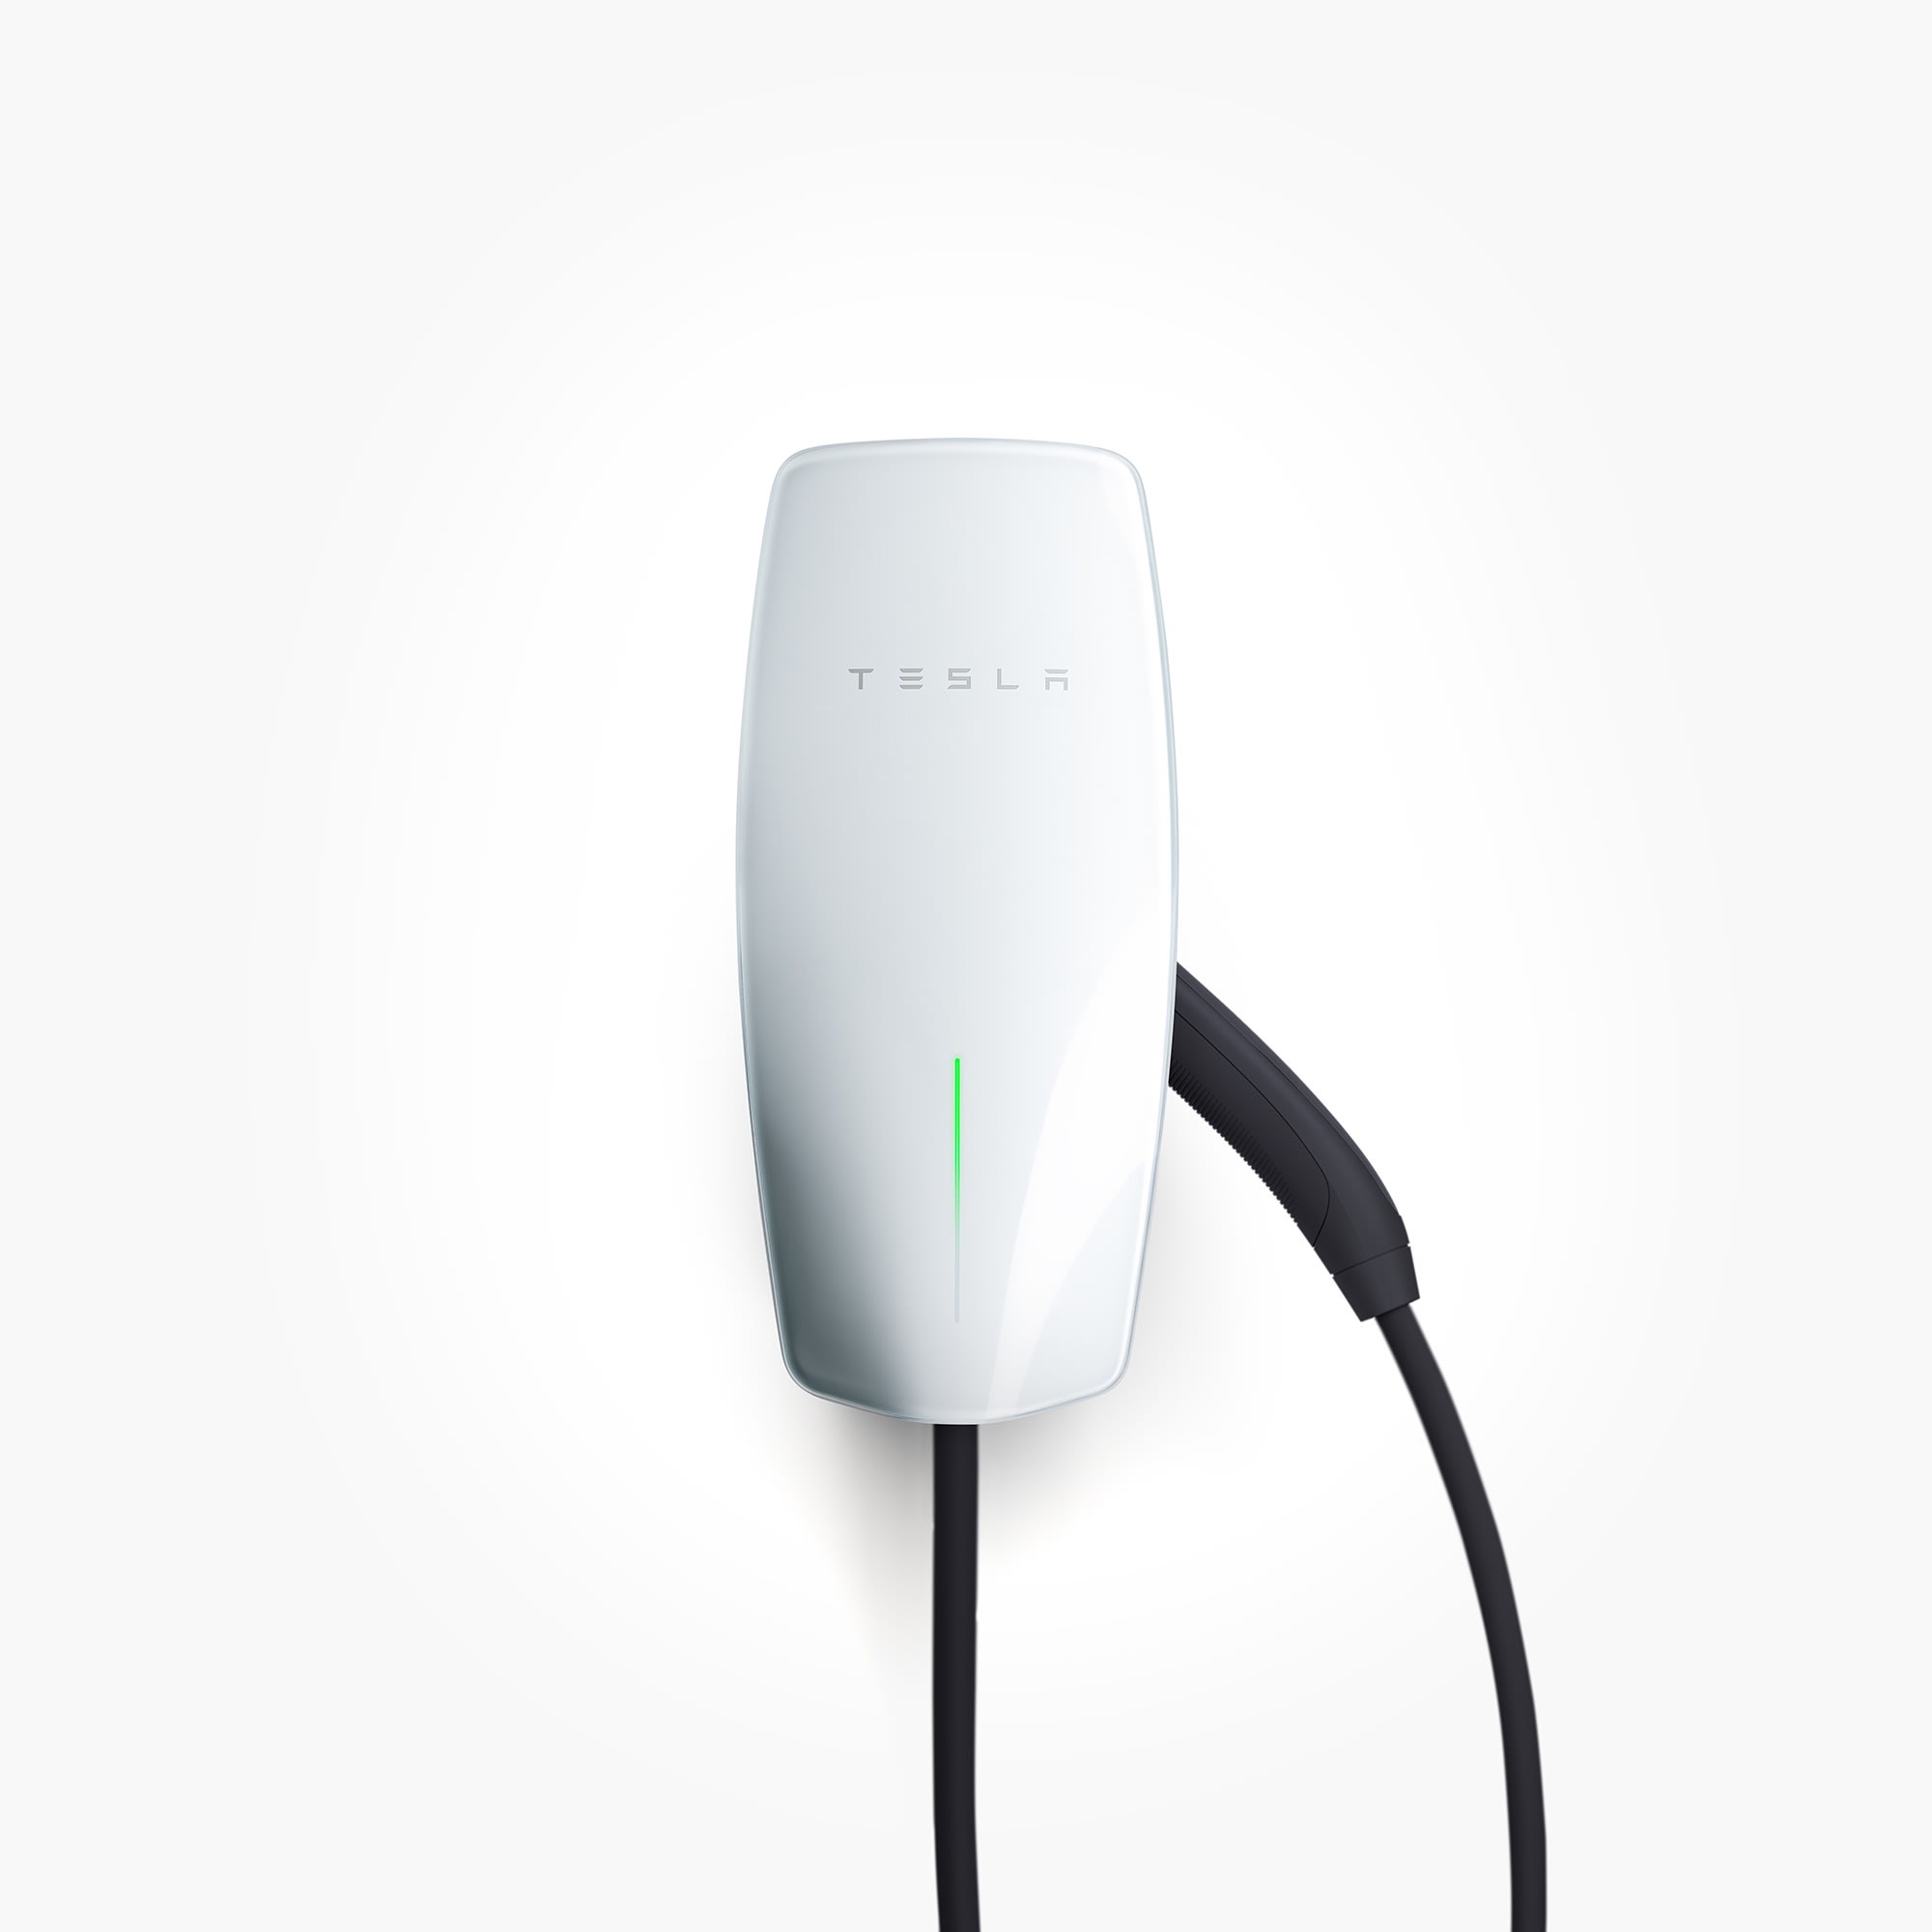
Wall Connector
Tesla trains Certified Installers who specialize in electric vehicle charging. These installers can help select the best charging option for your home, provide an installation quote, and install your product.
You can expect your installer to include the below standard items in your installation price, as well as additional items for more complex installations.
Different arrangements may apply if you qualify for specific programs. Consult Tesla Advisors for additional information.
Standard
- Professional installation service in compliance with local authorities’ requirements (TR25) and materials
- Testing and commissioning
- 12-month installation warranty
Additional
- Long cable run from electrical panel to Wall Connector
- Additional electrical panel required
- Main panel upgrade
- Pedestal installation
- Trenching for underground cables
- Cable concealment behind walls
- Wall Connector maintenance
Note: The customer is responsible for any fees or taxes imposed by the authorities.
Certified Installers in Singapore
- Ban Soon Heng Engineering Pte Ltd
+65 67430447
enquiry@bsh.com.sg
https://www.bshsg.com - Efficient Networks International Pte Ltd
+65 9337 8886 / +65 8088 2832
enquiries@efficient.sg
https://www.efficient.sg/ - Hai Khim Engineering Pte Ltd
+65 9248 4599 (Whatsapp)
admin@haikhim.com
https://www.haikhim.com/ - KED Energy Pte Ltd
+65 6468 2536 / 8038 4368 (Whatsapp)
kelvin@ked.energy
https://www.ked.energy/Tesla
We recommend scheduling your installation prior to your vehicle delivery so you can start charging as soon as you receive your vehicle.
Installation may take up to several hours, depending on the configuration of your charging setup. Always test your Wall Connector to ensure it’s working properly.
Remember to register your Wall Connector with OneMotoring right after your Wall Connector installation.
Note: Customer is responsible for any fees or taxes imposed by the authorities.
Installation Resources
After installation, you can enjoy the full benefits of Tesla home charging.
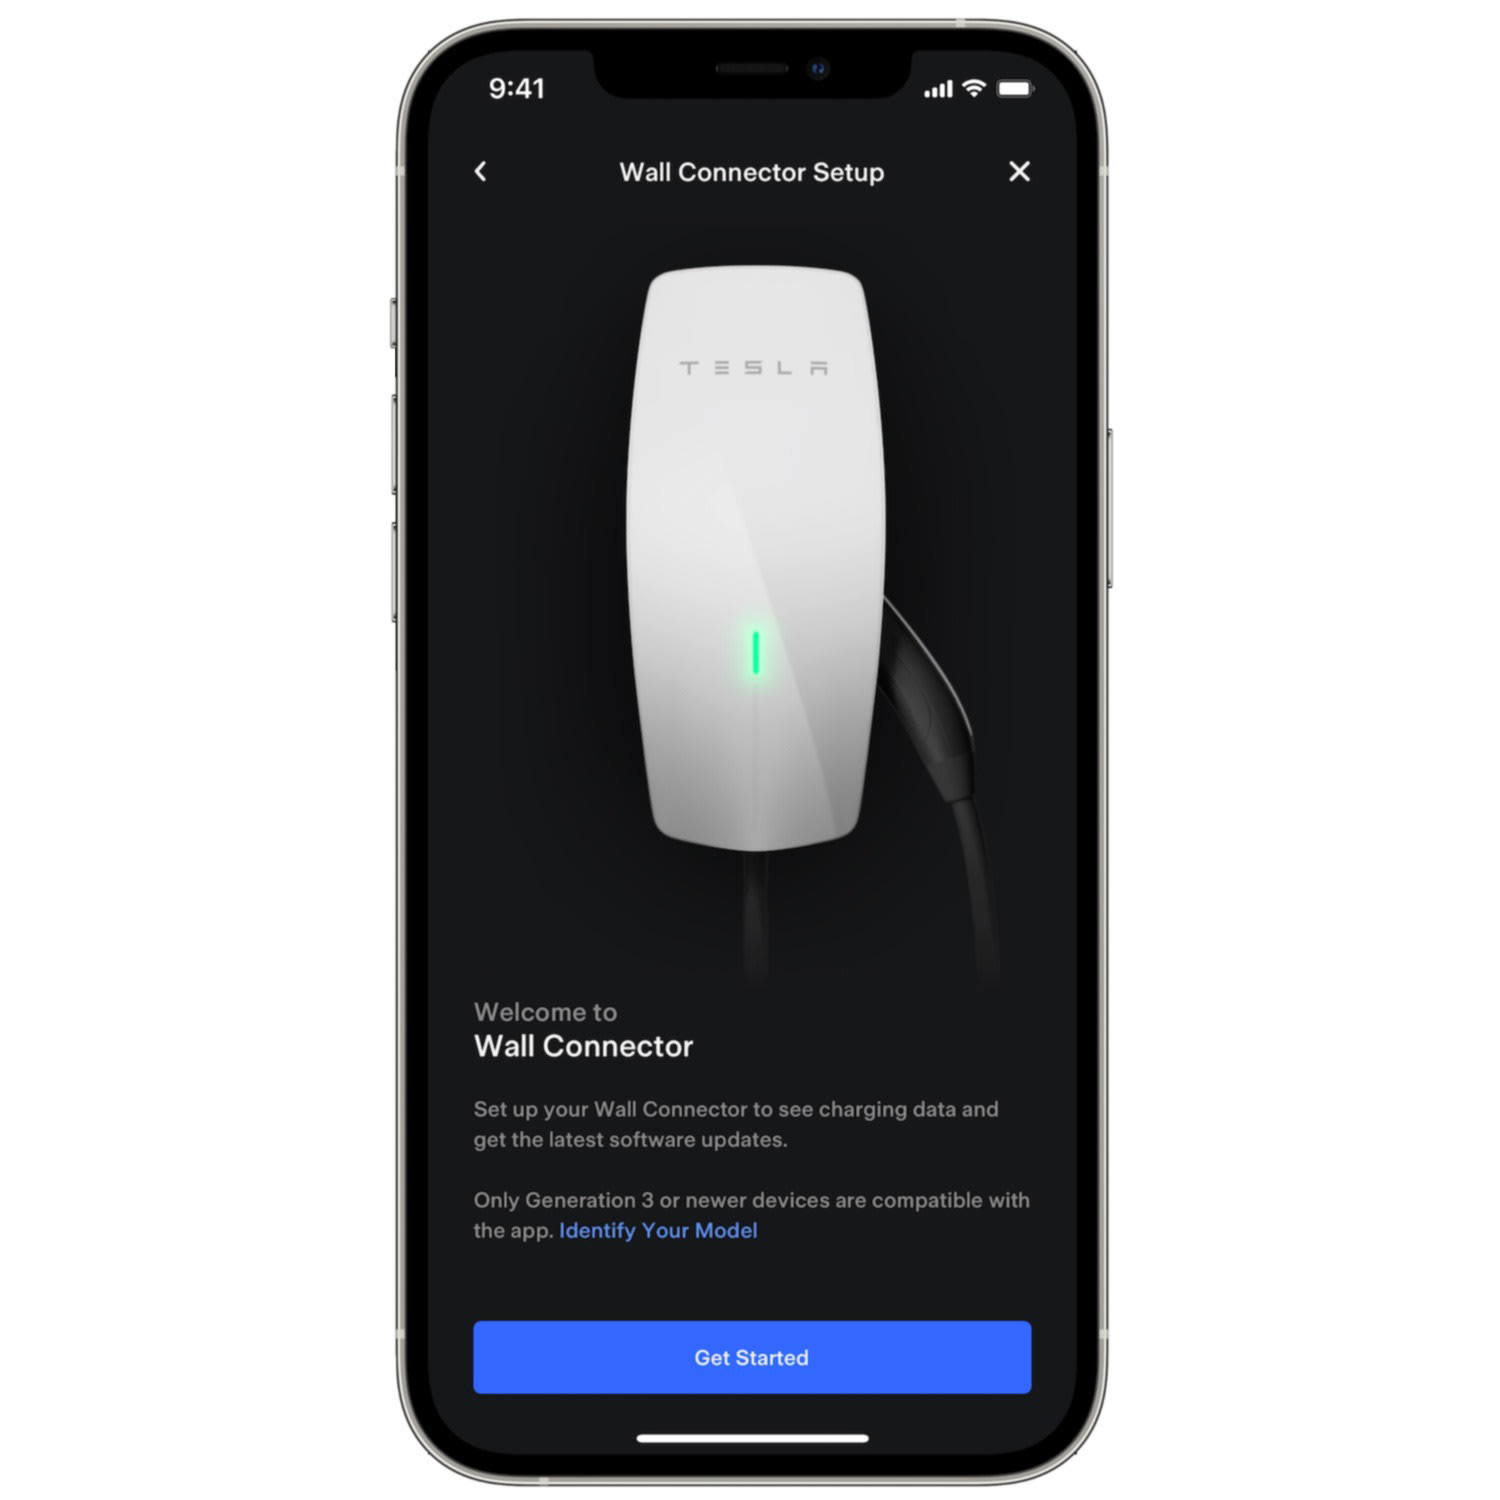
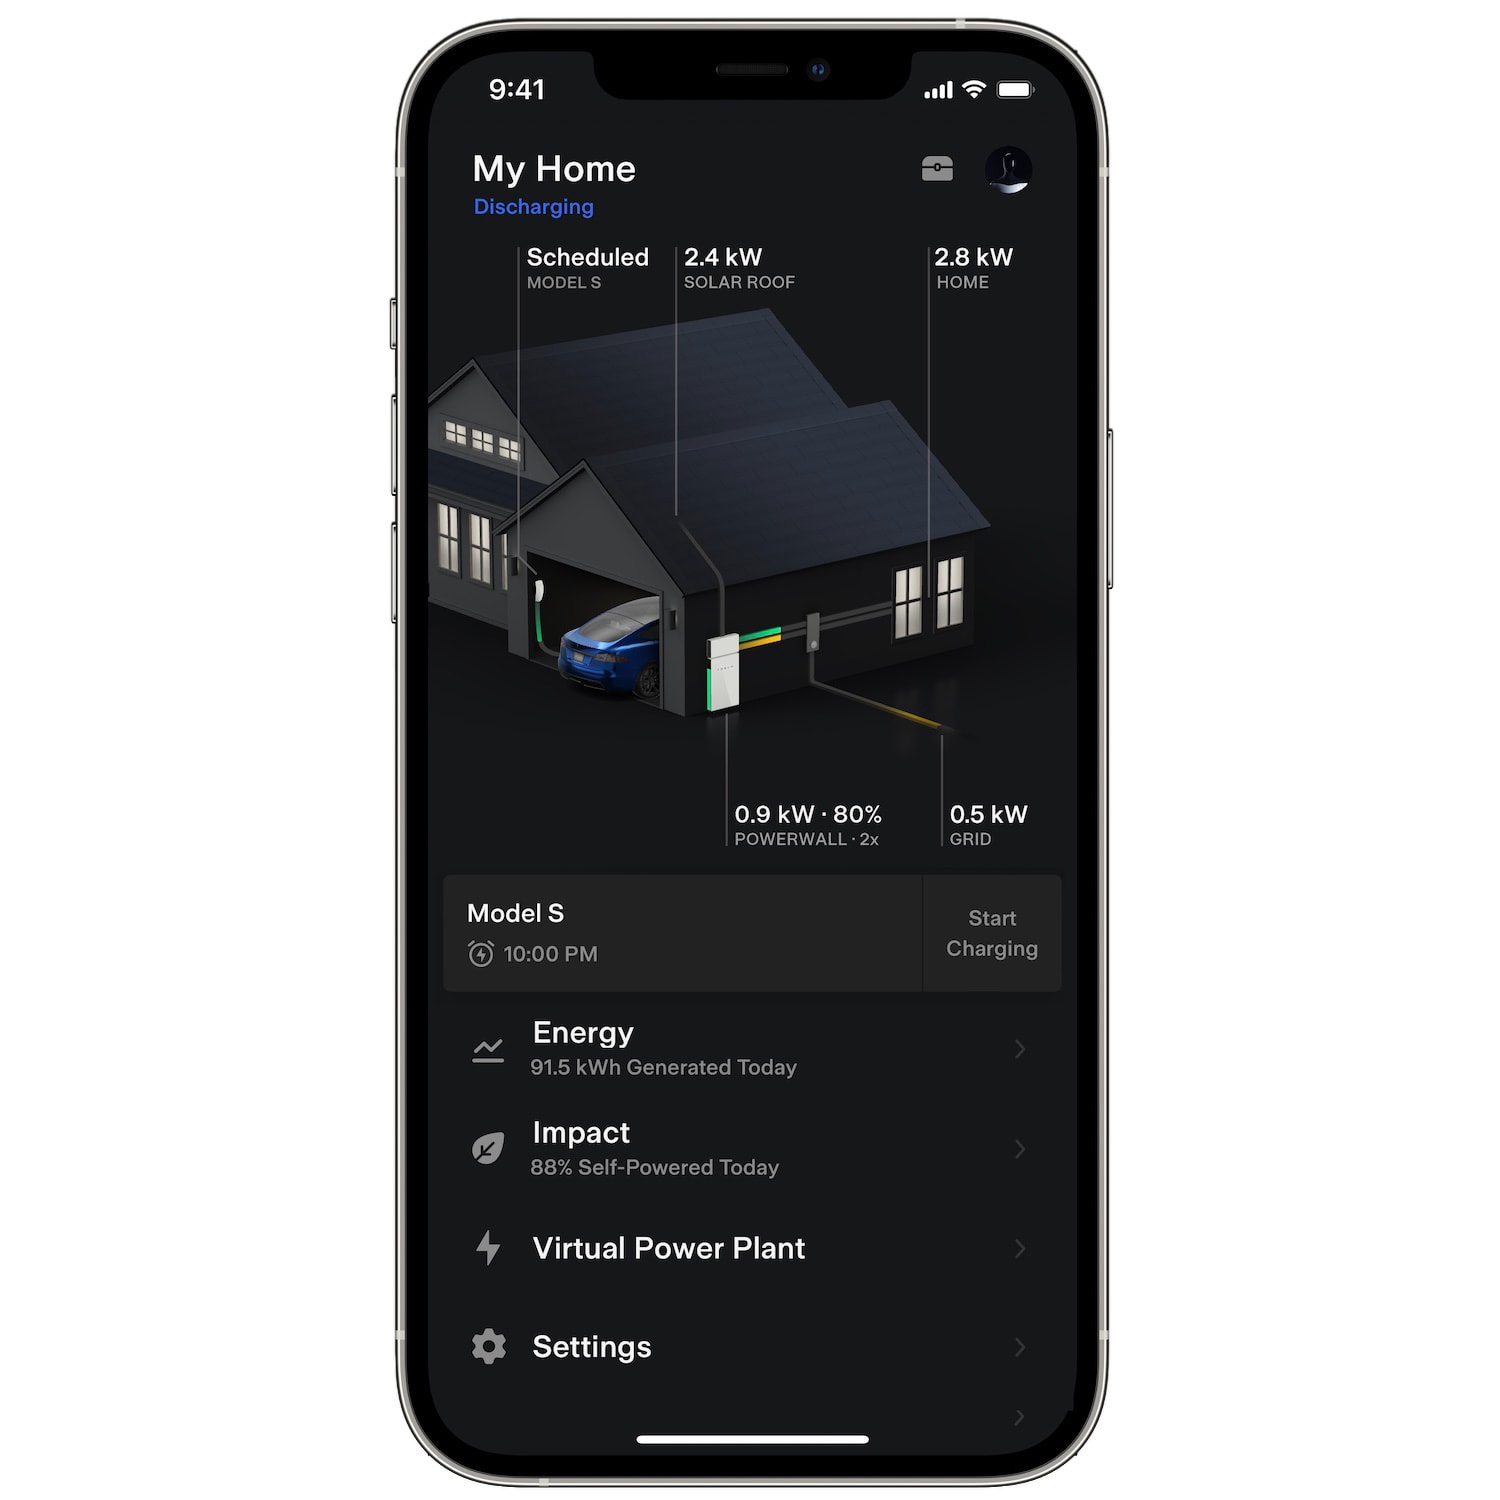
With a Wall Connector and its Wi-Fi connectivity, you can control and manage charging through the Tesla app, even for other electric vehicles. You can also see charging stats, set access controls and get remote diagnostics in case something goes wrong.


Within the Wall Connector warranty offered by Tesla from the invoice date, Tesla will exchange the Wall Connector if an issue arises and confirmed by Tesla, subject to telemetry diagnostics and may be subject to on-site inspection fee, payable by you. You will be responsible for the installation cost associated with the Wall Connector replacement and any related expenses including any fees or taxes imposed by the authorities.
The Certified Installer provides an installation Defect Liability Period (typically 12 months) against installation defects from the date the Wall Connector is installed.
If you are experiencing charging issues with a Wall Connector, contact us at 800 492 2239 or email sgsupport@tesla.com for assistance.
1 Refer to Wall Connector charging speed tables for Tesla vehicles. Charging speeds for non-Tesla vehicles will vary.