
Become a
Certified Installer
Installers
Installers
Countries
Countries
Installations
Installations
Grow Your Business
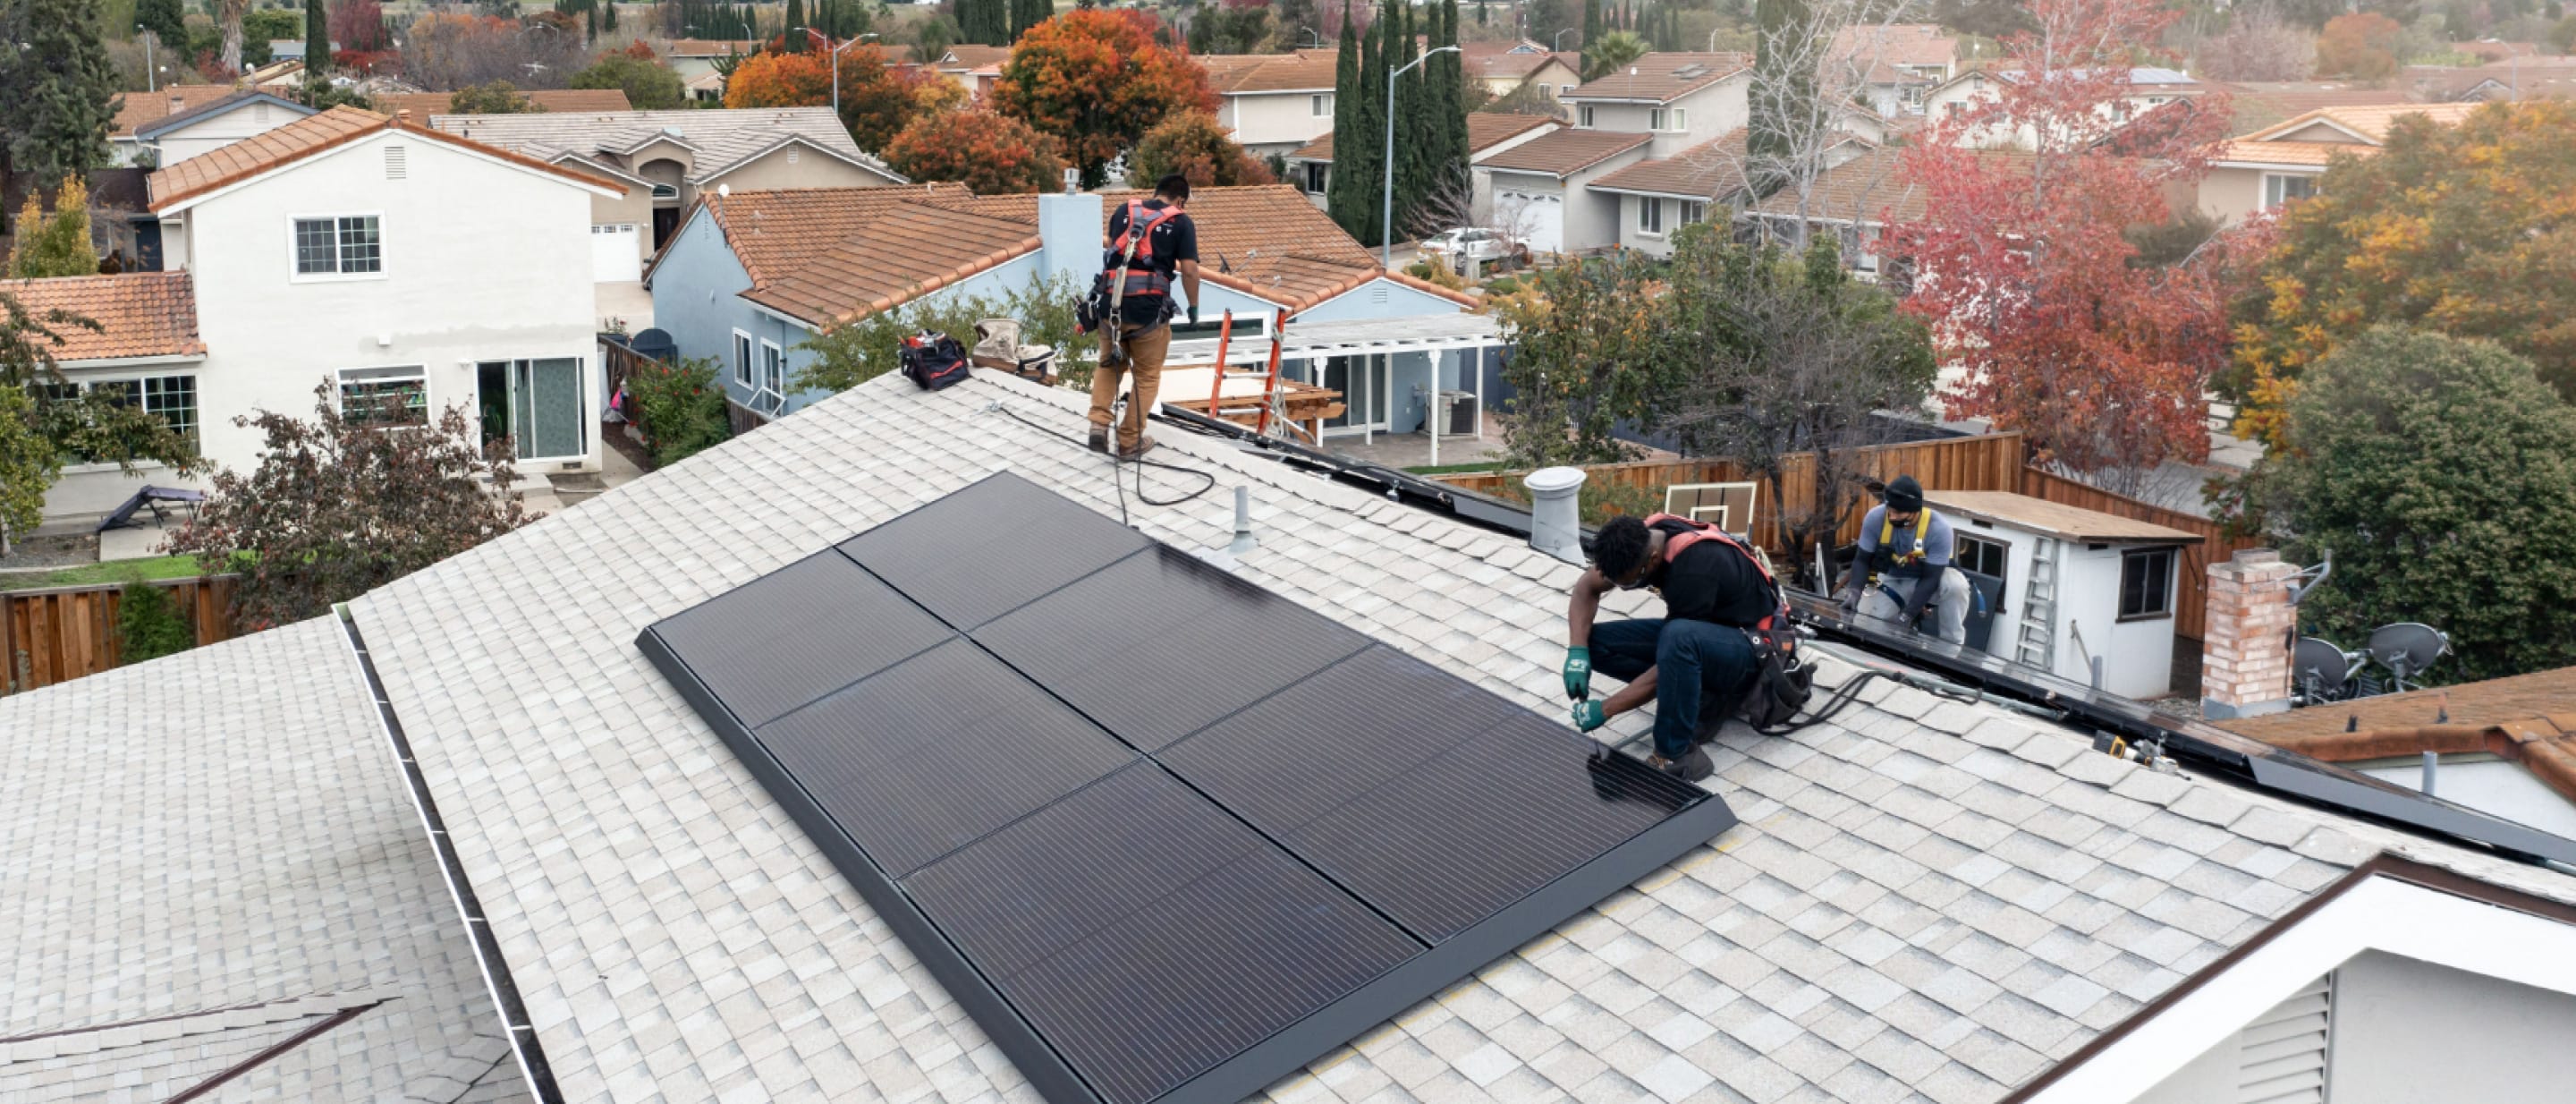
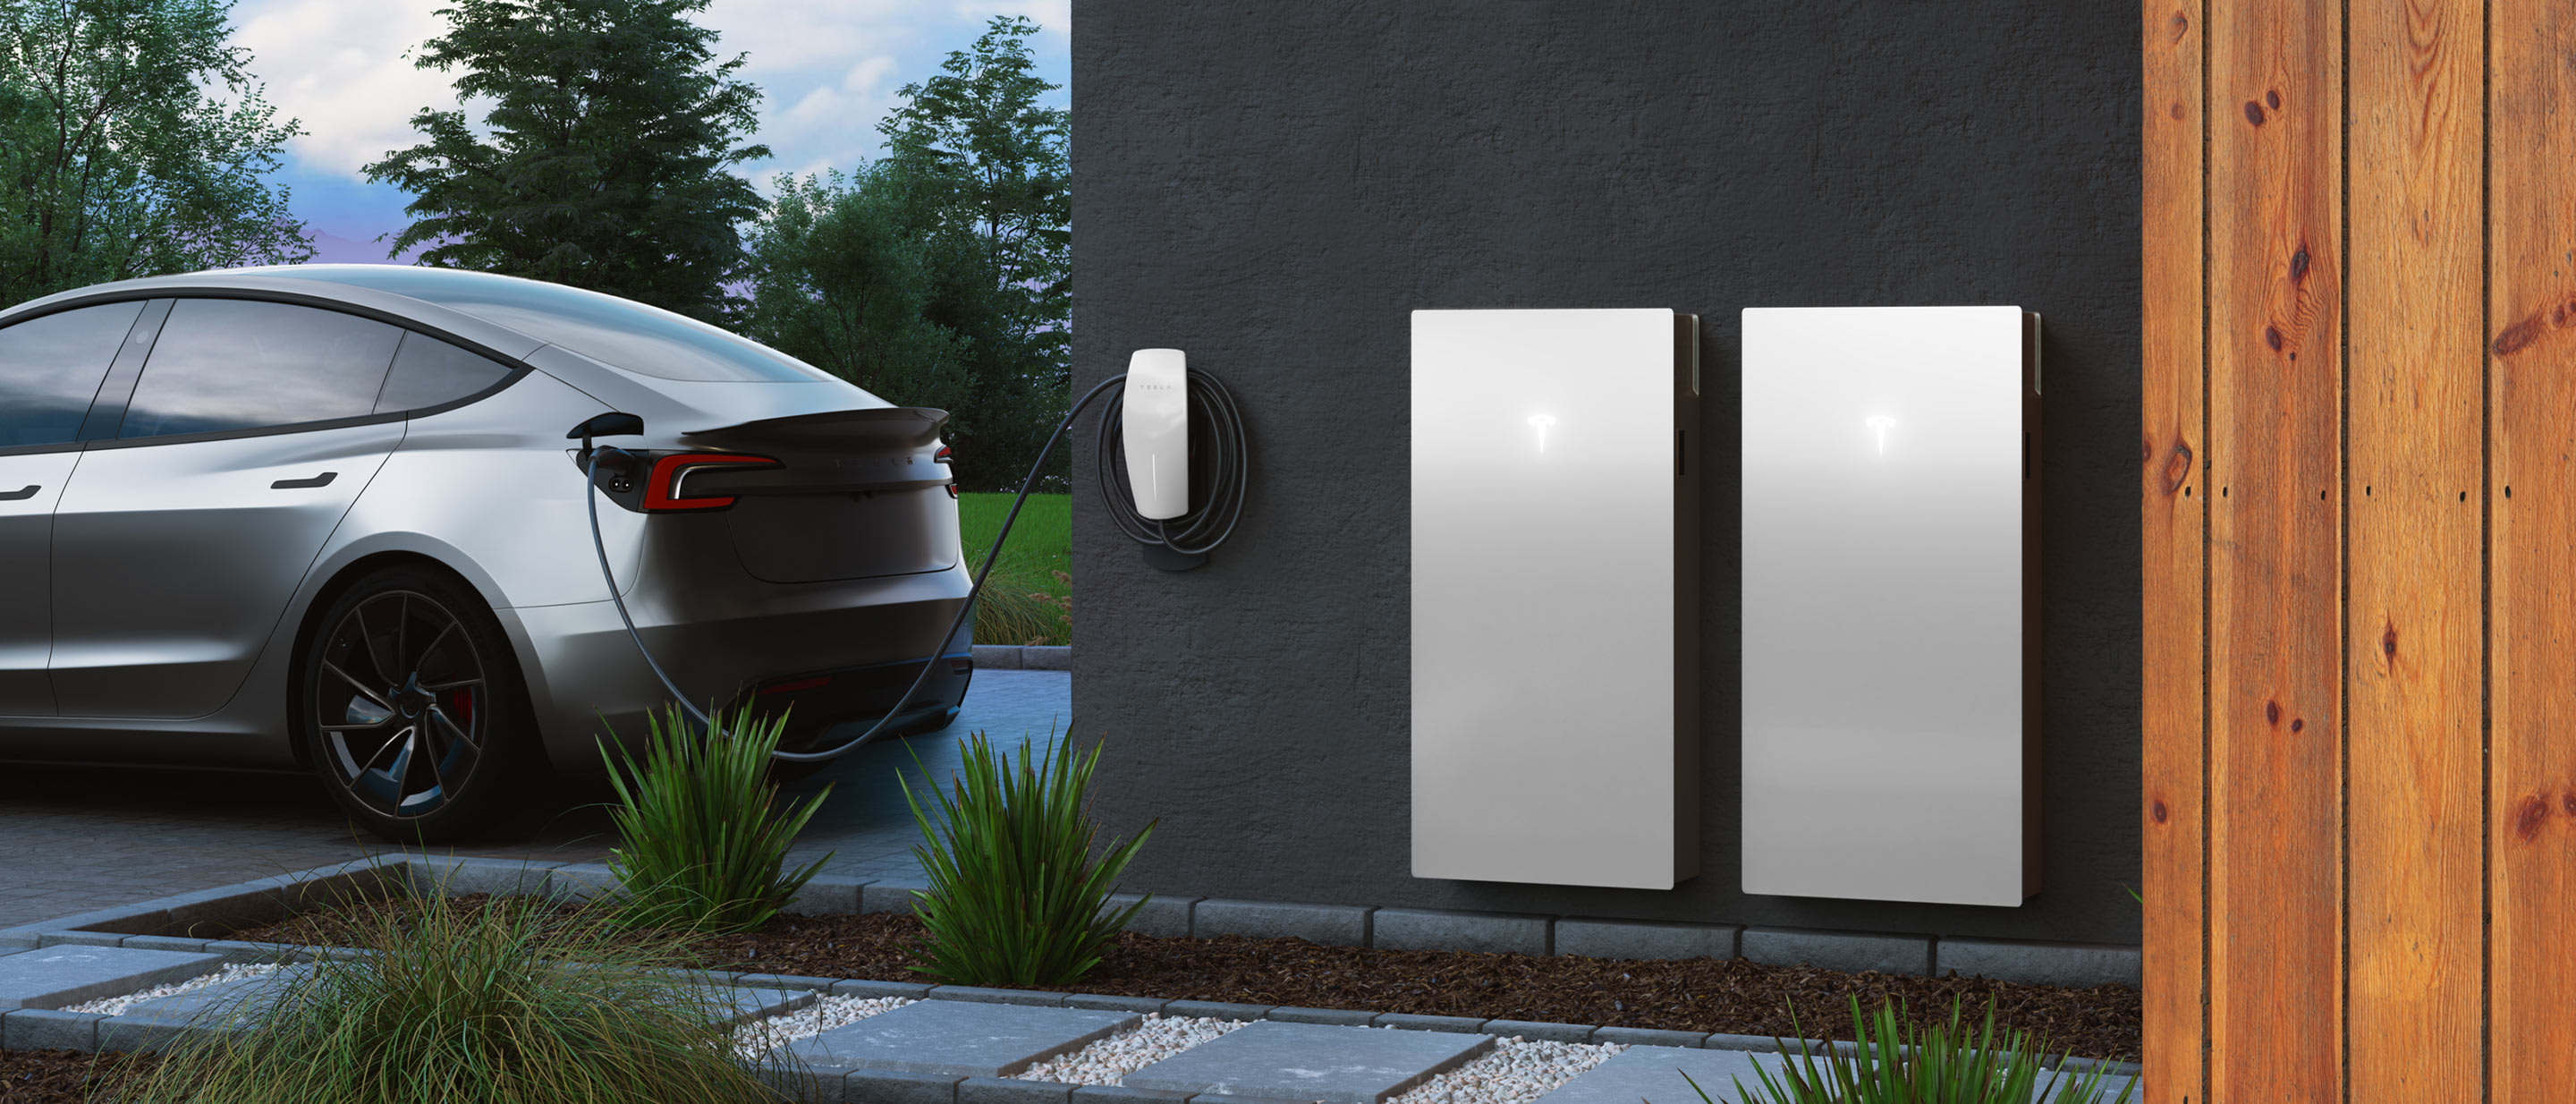
Combine your local market expertise with Tesla's energy product ecosystem. As a Tesla Certified Installer, you have access to our energy products plus training and tools to help promote your business, make the sale and complete installations.


Products Designed by Installers, for Installers
We provide you with the resources you need to install Tesla energy products safely and efficiently.
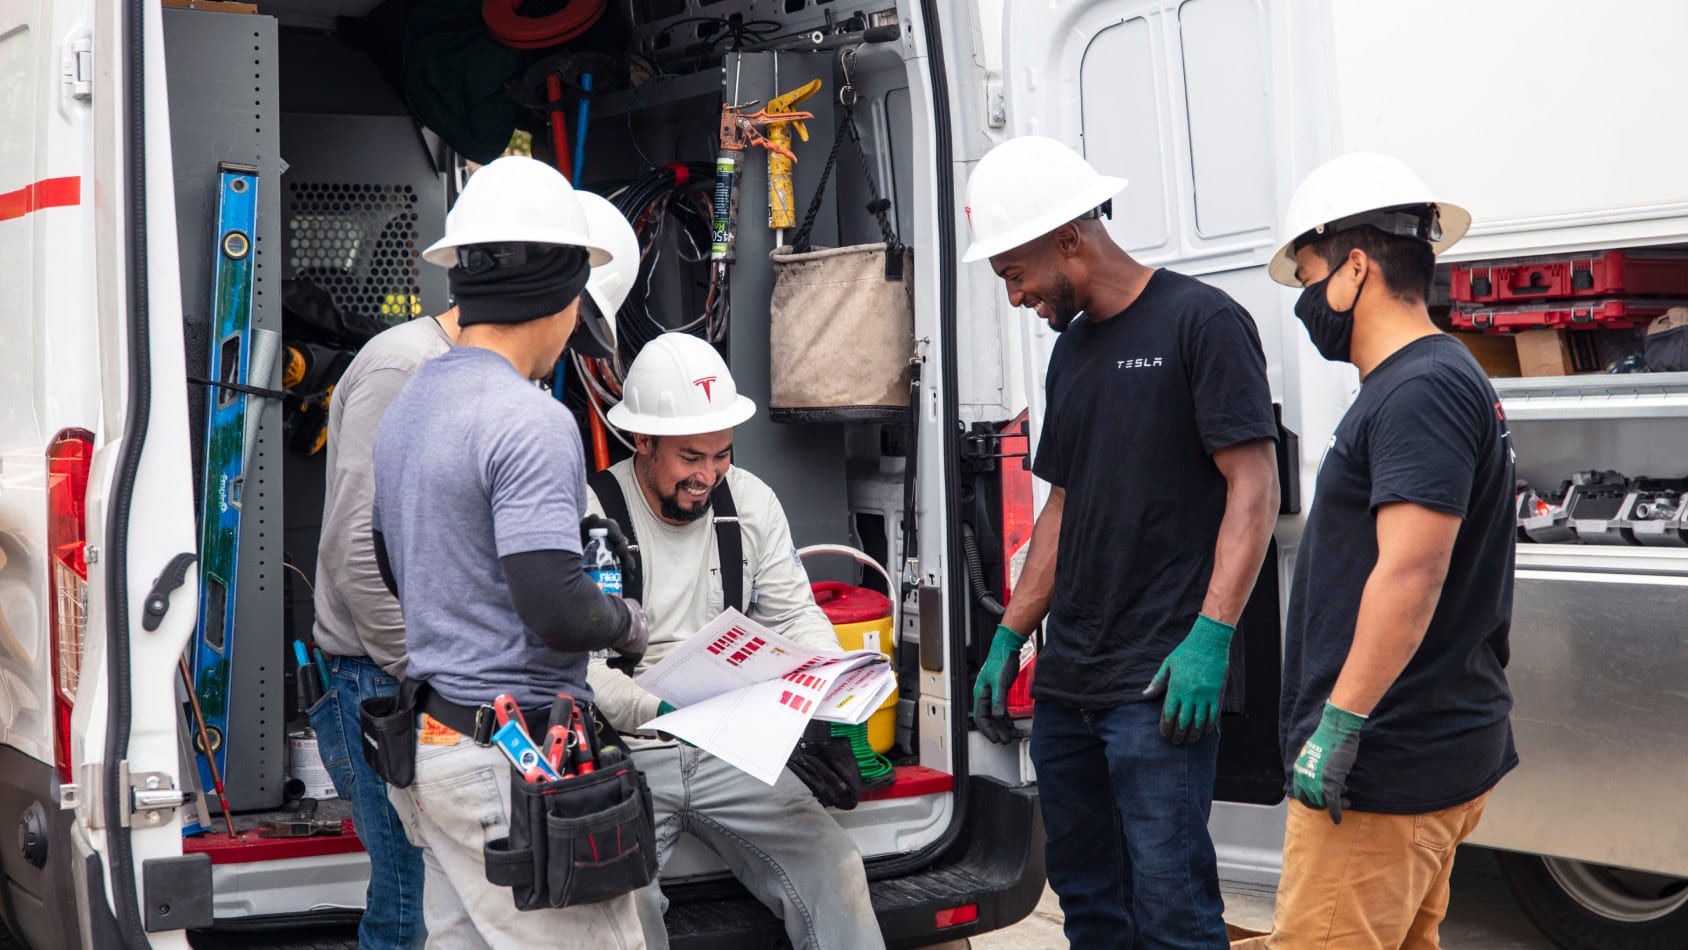
Both virtual and in-person training options are available, including mobile training vans that will come to you and provide instructor-led trainings on site.
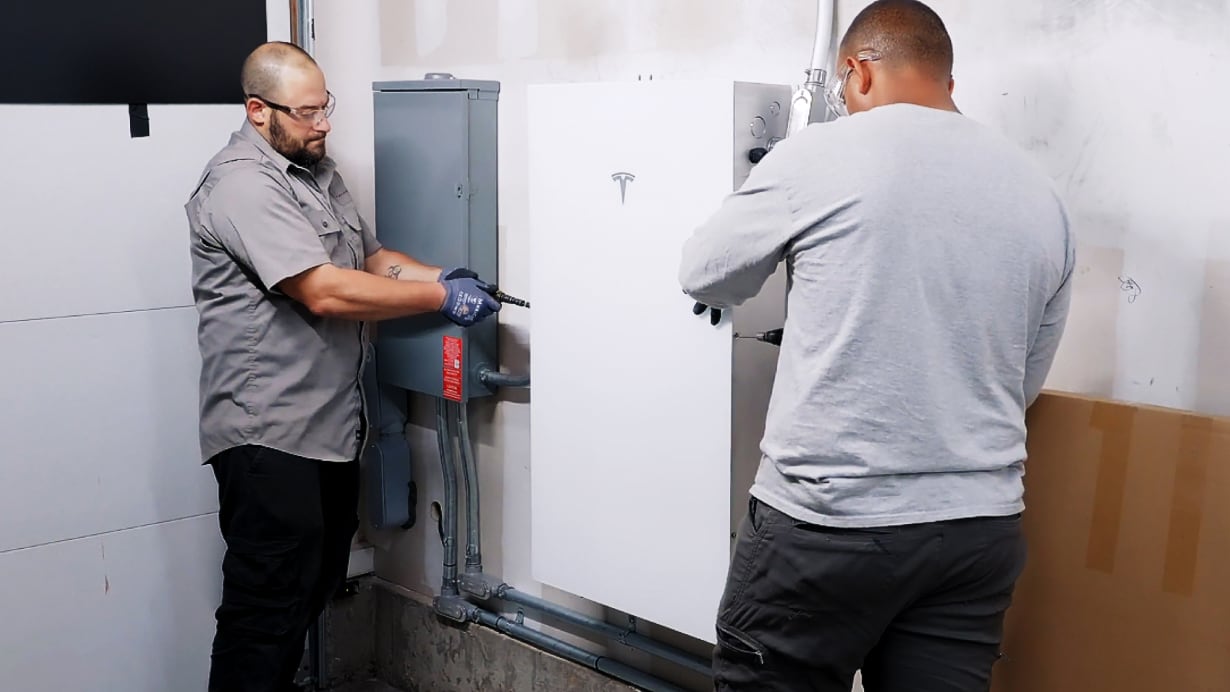
Backup Switch (where available) and custom tools like dollies and ramps enable faster one-person installations.
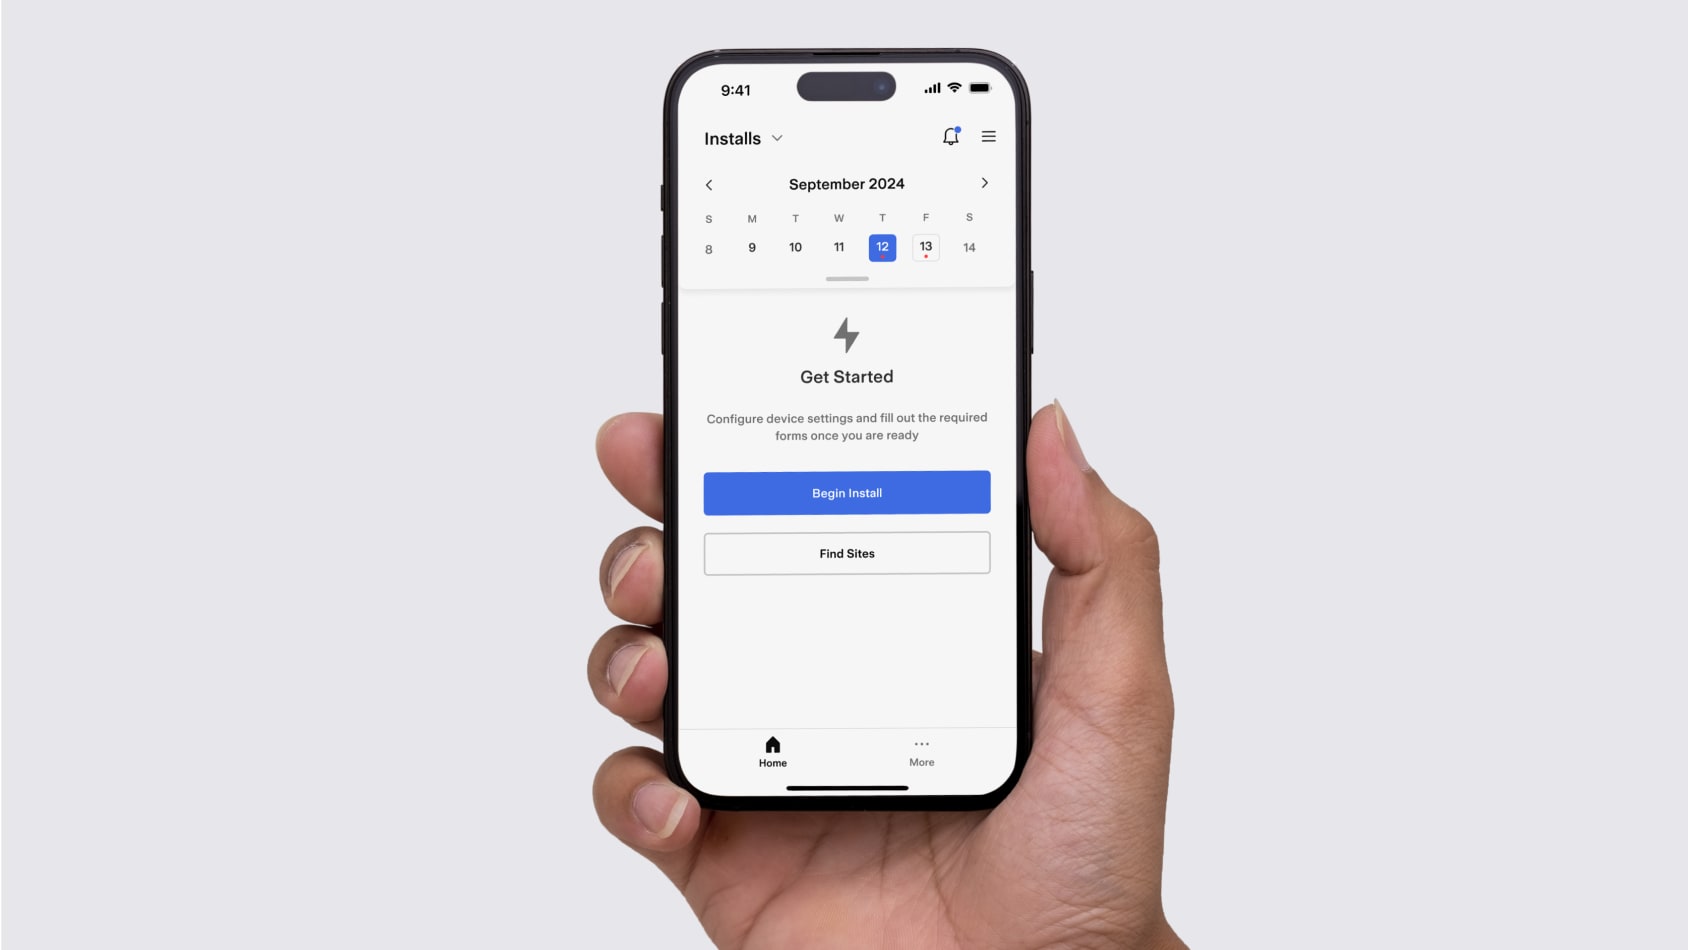
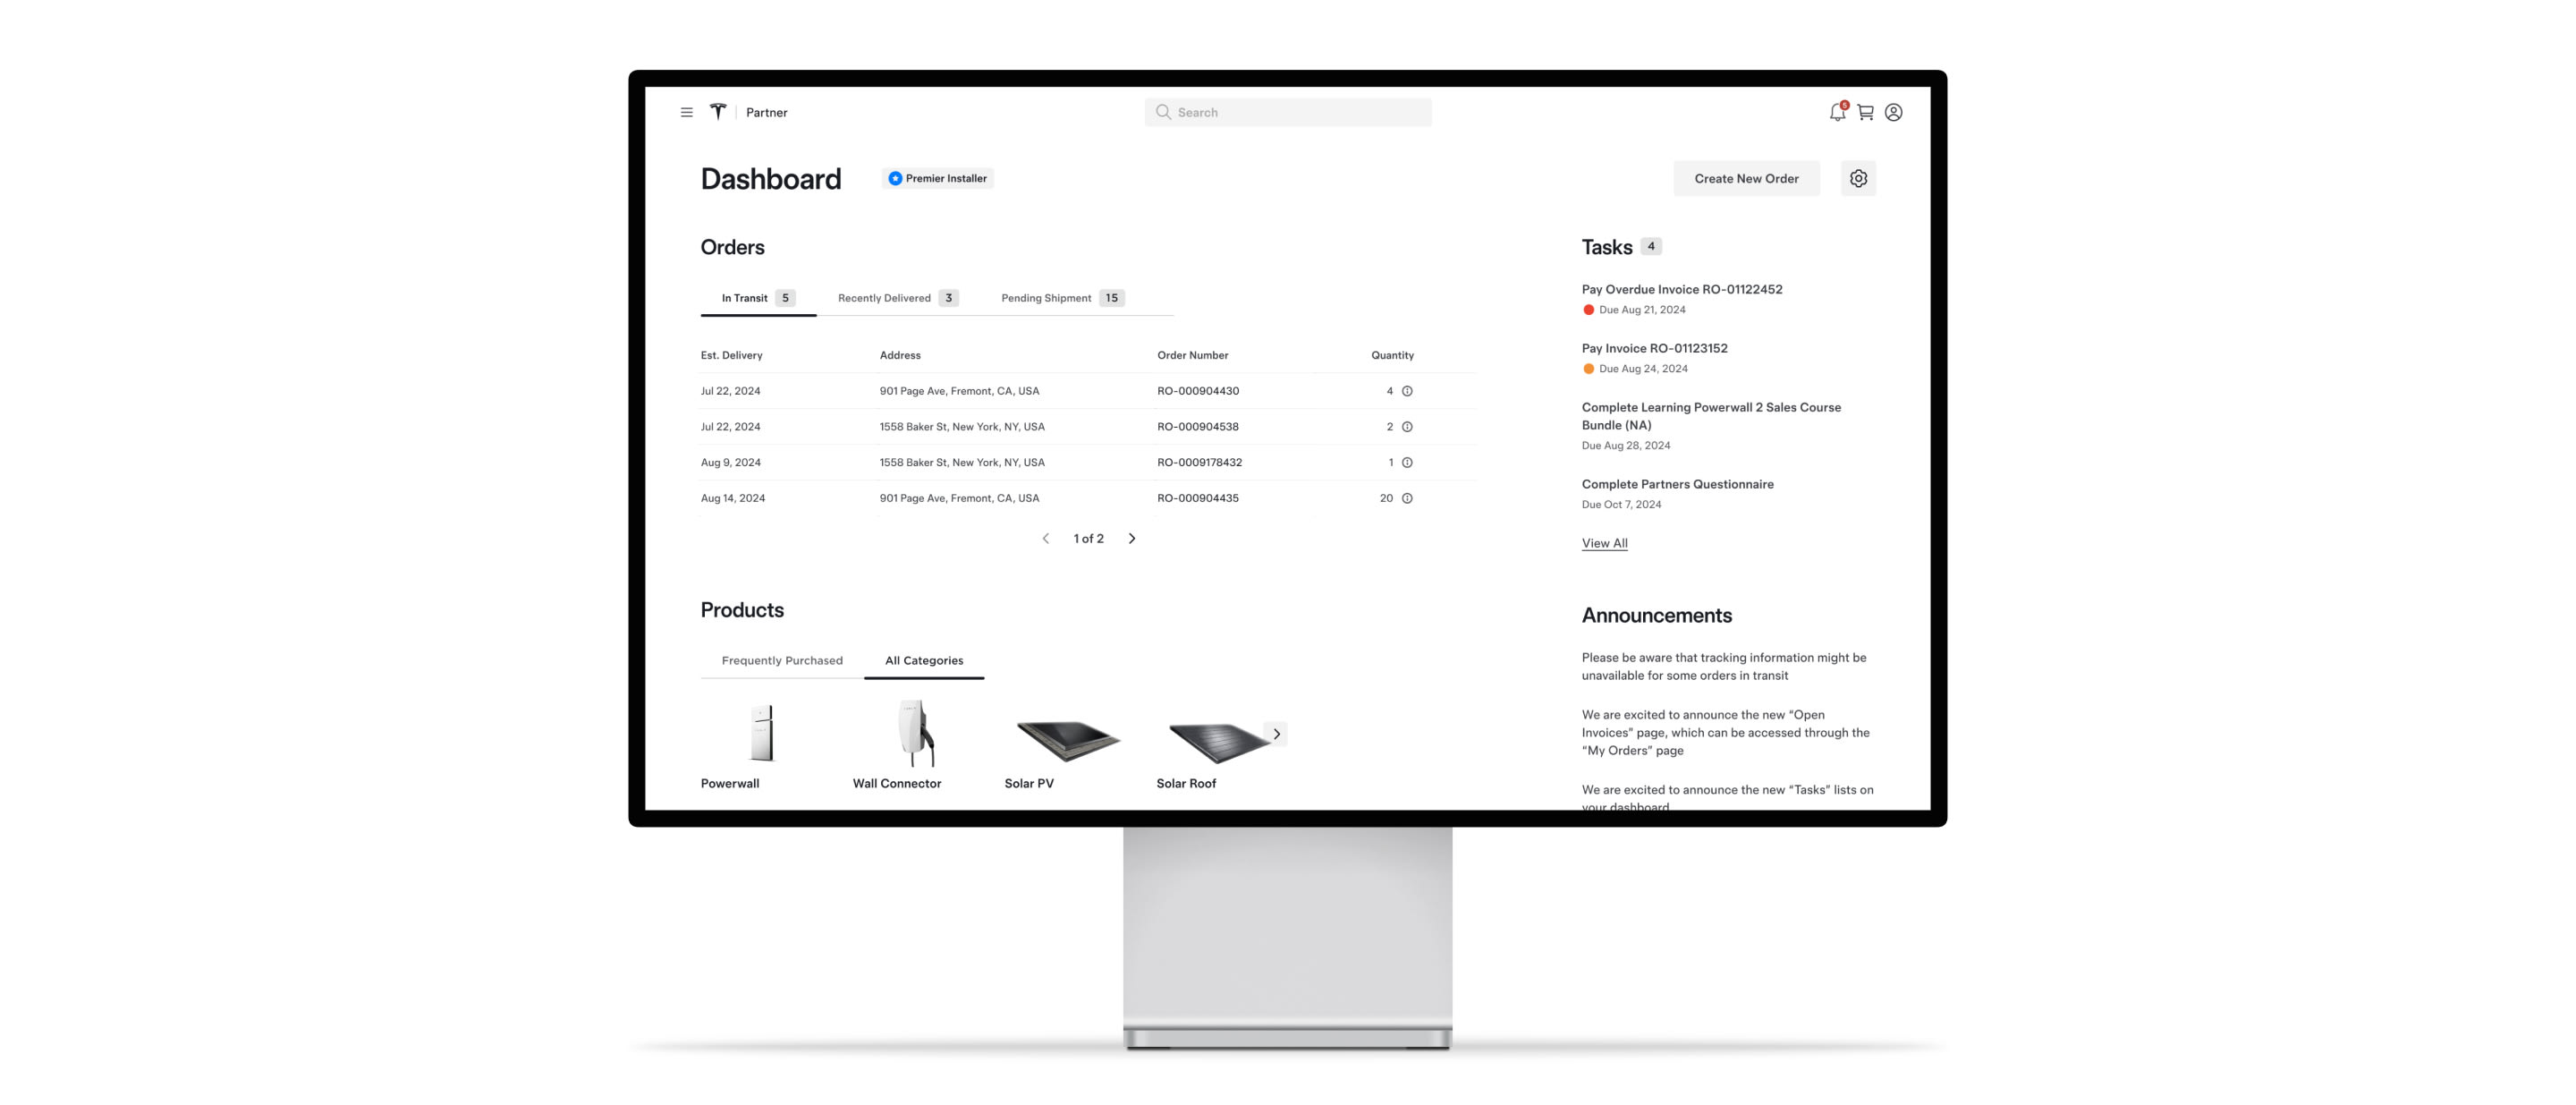
Our software platform supports you throughout your jobs, from quotes to ordering and installation.
Support When You Need It
Our Partner Portal gives you access to Tesla-approved marketing resources to help grow your business and increase your profits. Anytime you have questions along the way, a dedicated Tesla Account Manager will be available to support you.
Support When You Need It
Our Partner Portal gives you access to Tesla-approved marketing resources to help grow your business and increase your profits. Anytime you have questions along the way, a dedicated Tesla Account Manager will be available to support you.
Become a Tesla Certified Installer
Apply to partner with Tesla or download the Tesla One app to get started.