Installing a Wall Connector
Wall Connector is designed for easy installation. An open wire box with integrated terminals provides plenty of room for landing wires, with entry point options from the top, bottom and rear. Installers can use a mobile device to commission Wall Connector, connect to customer’s Wi-Fi networks and register Wall Connector so both the customer and installer can access it remotely. For Wall Connector to work as expected, all three steps are required.
Note: Installers should download and fully review the Wall Connector installation manual prior to installation.
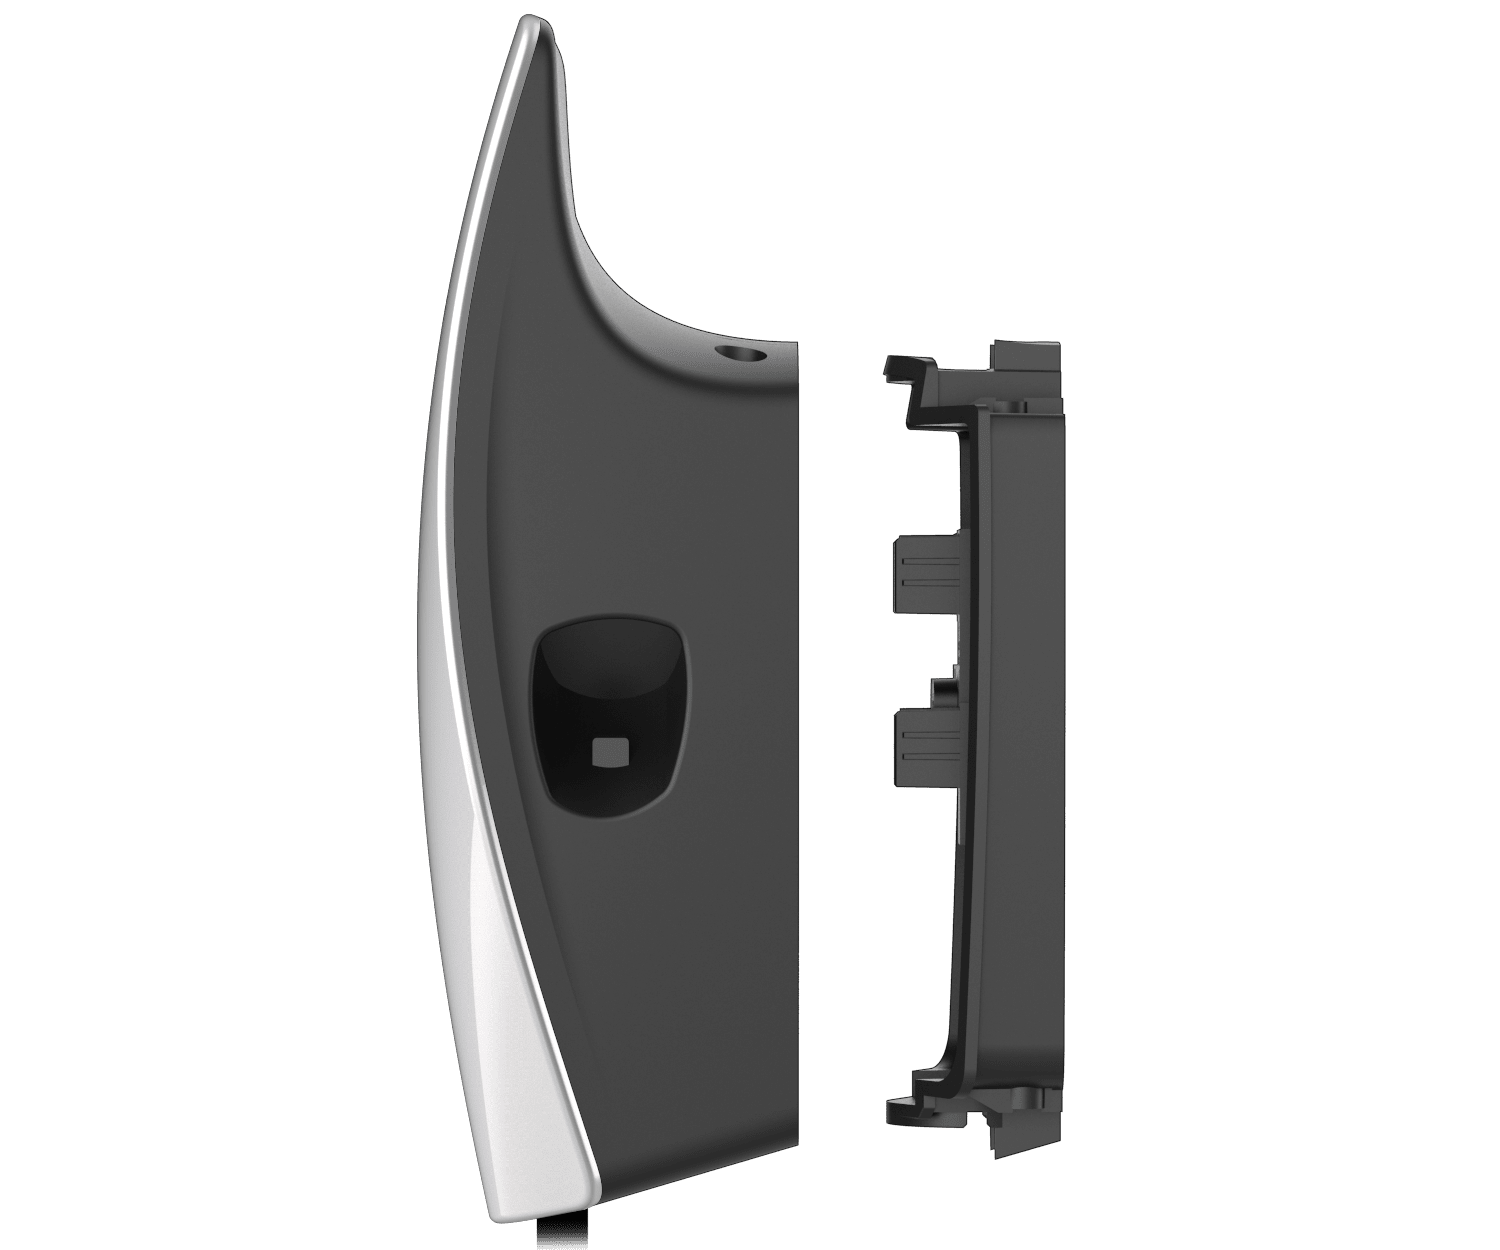
Mounting a Wall Connector
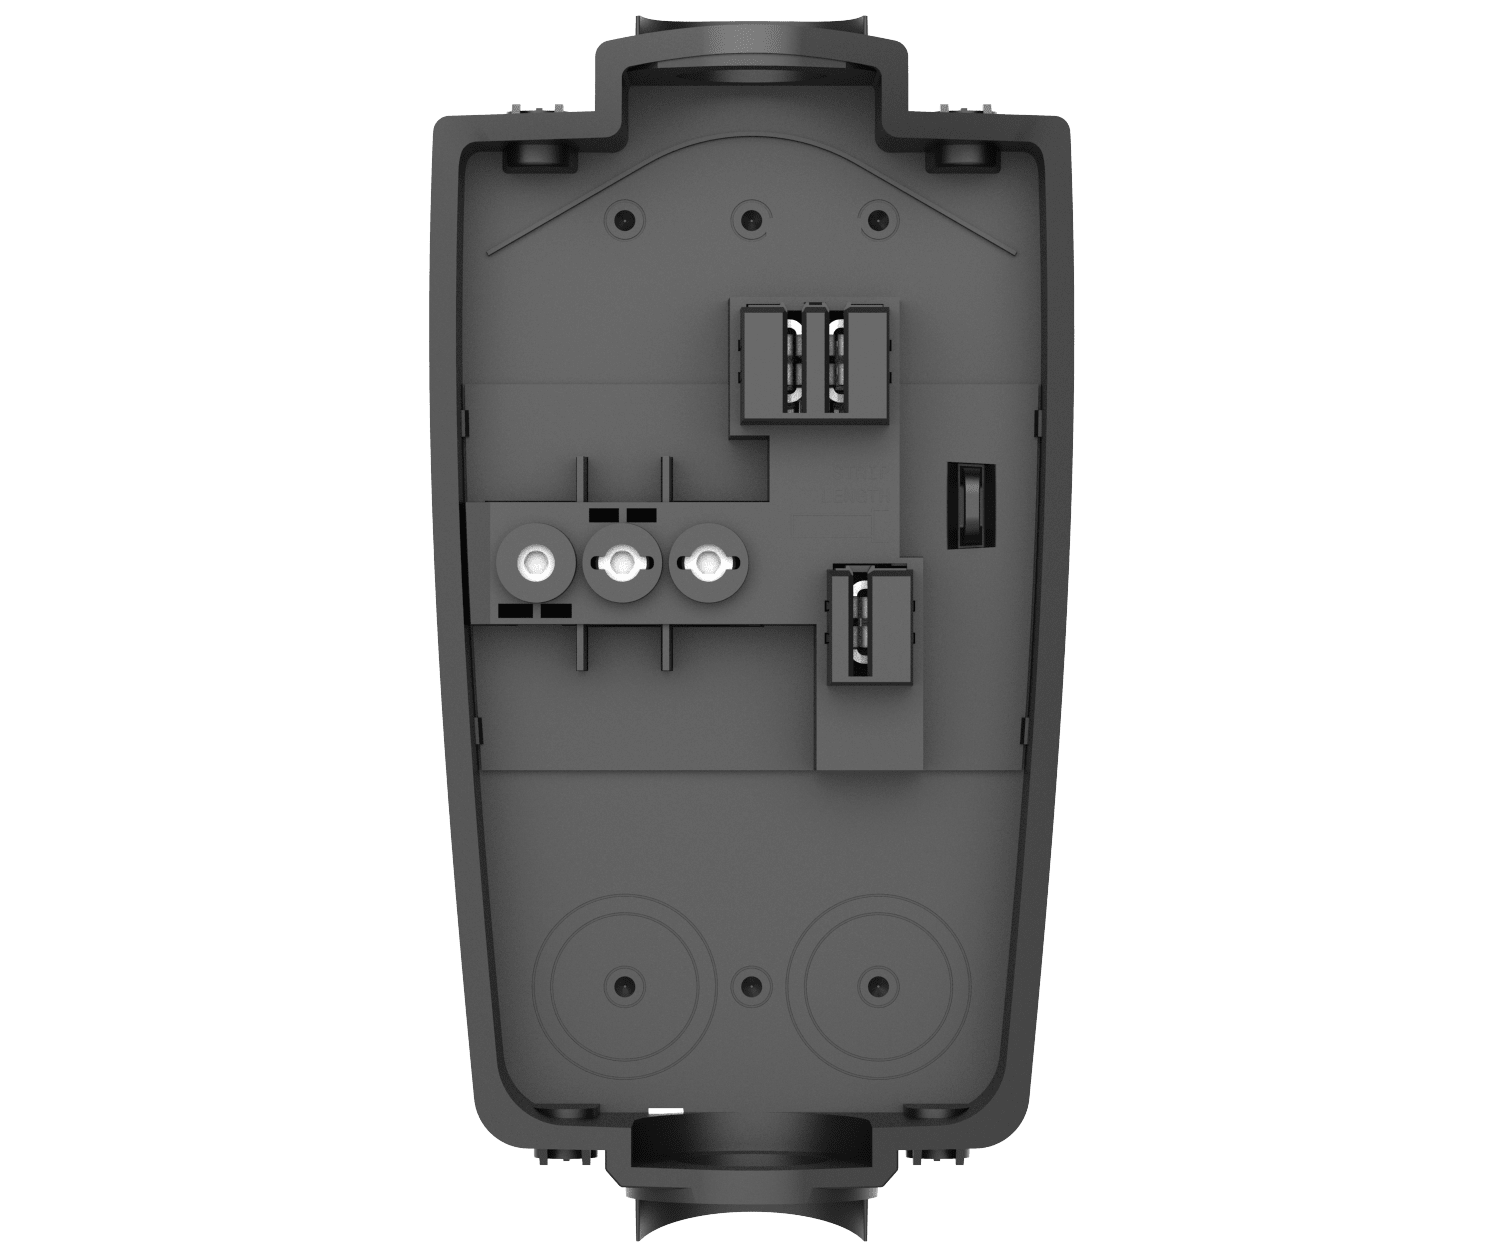
Wiring a Wall Connector
Wall Connector installers can configure the set up within the Tesla One app. To successfully commission the Wall Connector, scan the QR code located on the front of the installation Quickstart Guide included with the packaging. This QR code provides the unique credentials to connect to the unit, configure Power Management, connect to Wi-Fi and set the circuit breaker rating and output amperage.
Once set-up is complete in the Tesla One app and Wall Connector has been registered, residential customers can access the full set of Wall Connector features in the Tesla app including scheduled charging, charging stats and history, device access controls and troubleshooting tools. The installer will be able to view and access Wall Connector in PowerHub for remote troubleshooting.
Wall Connector must be registered to the customer to enable their access through the Tesla app and to allow installer access to Wall Connector through PowerHub.
The best way to keep a Wall Connector up to date is to connect to local Wi-Fi so that it can automatically receive firmware updates. New features and functionality will be rolled out over time.
If Wi-Fi is unavailable, it is possible to manually update a Wall Connector through offline firmware updates.